
You have just decided: you are going to create a Magento 2 theme. Great! That’s why today we write this entire article to help you achieve your mission!
The first thing to bear in mind: do NOT directly edit default themes. This is the mistake that most beginners make, as this makes future upgrading and doing maintenance impossible.
There are 3 steps to create Magento 2 theme:
- Create a new theme directory
- Declare the new theme
- Apply and configure theme in admin
In this article, we will walk through all 3 steps. Make sure not to skip any step, as each one is important itself.
Table of Contents
1. Create a new theme directory
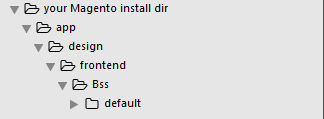
Magento 2 theme directory is located in app/design/frontend.
You need to create the directory named <vendor>/<theme_name> inside this directory. You can do so using file transferring software such as FileZilla.
For example, we create app/design/frontend/Bss/default.
2. Declare the new theme
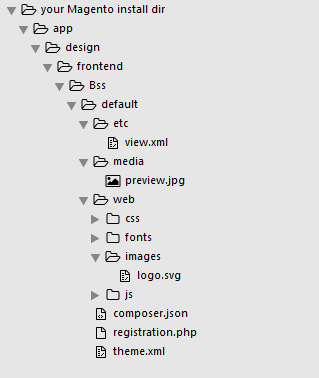
After creating the theme directory, you have to create files to declare the new theme: theme.xml, composer.json, registration.php, static files, logo folder.
Create theme.xml
The theme.xml should be created in the directory:
<your Magento install dir>app/design/frontend/<your_vendor>/<your_theme/theme.xml
This file’s content has to contain:
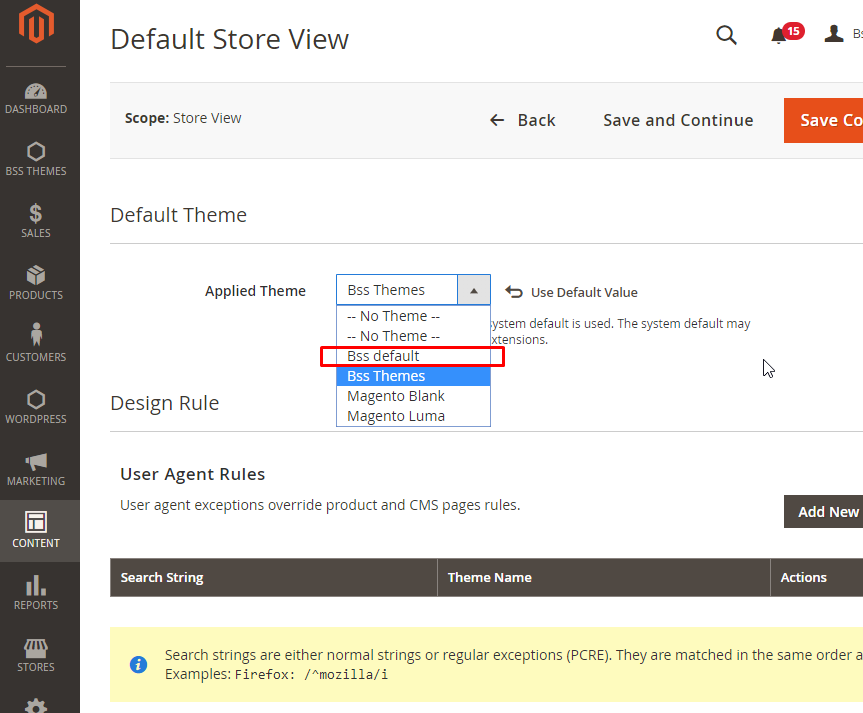
- Title tag. This is displayed in the Magento admin as the name of the theme. This can be viewed in Admin > Content > Design > Configuration > Default Store View.
For example, in our theme.xml file, we write:<title>Bss default</title>
- Parent tag. For starter, insert “Magento/blank” into <parent></parent>. This makes Blank the parent theme of the theme we are creating. This means that if the server cannot find any files inside our theme folder (child theme), it will automatically find that file in its parent theme, Blank.
For example, we write: - Image preview tag. Inside <preview_image></preview_image>, write the directory of the desired preview image for the theme. This can be accessed in Content > Design > Themes > <theme_name>
For starter, put the screenshot image in media directory inside the theme folder:/app/design/frontend/<your_vendor_name>/<your_theme_name>/media/screenshot_theme.png
This is all we write in the example theme.xml file:
<theme xmlns:xsi="http://www.w3.org/2001/XMLSchema-instance" xsi:noNamespaceSchemaLocation="urn:magento:framework:Config/etc/theme.xsd">
   <title>Bss default</title>
   <parent>Magento/blank</parent>
   <media>
      <preview_image>media/preview.jpg</preview_image>
   </media>
</theme>
Create new Composer.json
In Magento 2, each theme is used as a composite package, even the default themes. Actually, we suggest the starters copy the default themes’ Composer.json in:
vendor/magento/theme-frontend-blank/composer.json
And paste into our new theme folder.
Create new registration.php
To register a theme in the Magento system you need to create the registration.php file. Make sure that you include your new theme’s directory, for example, ‘frontend/<Your_Vendor>/<Your_theme>’,
For a shortcut, write this:
<?php
/**
* Copyright © 2015 Magento. All rights reserved.
* See COPYING.txt for license details.
*/
 \Magento\Framework\Component\ComponentRegistrar::register( \Magento\Framework\Component\ComponentRegistrar::THEME, 'frontend/<YourVendor>/<yourtheme>', __DIR__ );
?>
Create static files directories
Create folder “web” in the following path:
app/design/fronend/<your_vendor_name>/<your_theme_name>/webYou can then add fonts, CSS, image, js in your theme in this folder. Note that you should create different folders inside this directories. For example, here is our web folder:
Create logo folder
Firstly, create a folder named Magento_theme/layout in your theme folder.
<your Magento install dir>app/design/fronend/<your_vendor_name>/<your_theme_name>/Magento_Theme/layoutSecondly, create a file named default.xml with the content:
<page xmlns:xsi="http://www.w3.org/2001/XMLSchema-instance" xsi:noNamespaceSchemaLocation="urn:magento:framework:View/Layout/etc/page_configuration.xsd">
    <body>
        <referenceBlock name="logo">
            <arguments>
                <argument name="logo_file" xsi:type="string">images/logo.png</argument>
                <argument name="logo_img_width" xsi:type="number">300</argument>
                <argument name="logo_img_height" xsi:type="number">300</argument>
            </arguments>
        </referenceBlock>
    </body>
</page>
Notice that images/logo.png from the example above should be replaced by the logo file directory. Both the 300 should be replaced by the width and height of the logo (our example logo’s size is 300×300).
3. Apply and configure theme in admin
To apply the theme, you have to:
- Upgrade and flush cache
- Apply the theme in Magento admin
- Deploy
1. Upgrade
Run the following commands to upgrade and flush cache:
php bin/magento setup:upgradephp bin/magento cache:flush (notice that if you are running Magento from 2.2.x, add -f to flush cache command: php bin/magento cache:flush -f
2. Apply the theme in Magento admin
Go to Content > Design > Themes (from Magento 2.1) or Stores > Configuration > Design
The created theme will be displayed here. If it is not, check your previous steps for errors.

To view more information, click the theme name.
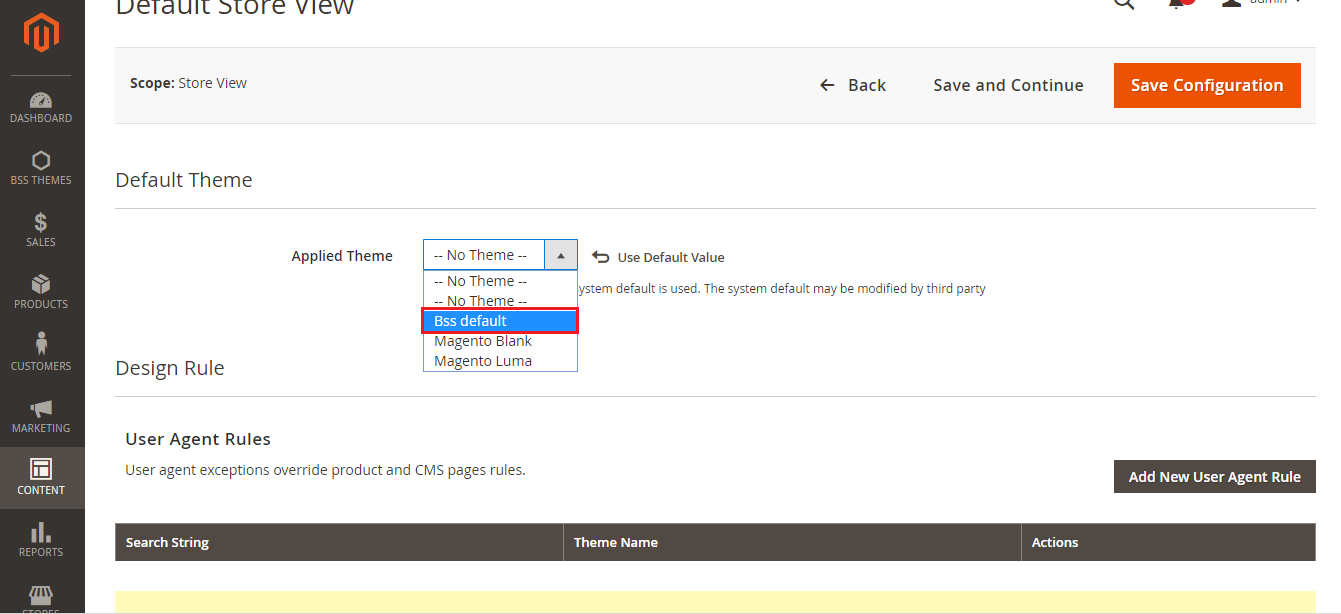
Then apply the theme by:
- From Magento 2.1: Content> Configuration > Edit theme > Default Theme > Select your theme.
- Magento 2.0: Stores > Configuration > Design Tab > Design Theme.
3. Deploy
Run the following command to deploy the theme to all your stores:
php bin/magento setup:static-content:deployMagento 2 create theme: In conclusion,
So there you go, the guide to create Magento 2 theme. By now we hope that you have known the steps to do the work, and have a new theme running on your website. If the parent theme is Blank, your website now should display Blank theme now.
So do you have any question regarding creating Magento 2 theme? Let us know in the question below!


Good post. I will be dealing with some of these issues as well…